Posted on 9 September 2019, updated on 28 February 2023.
If you run your app on EKS, the AWS Kubernetes managed service, and you don’t use Gitlab CI, it could be difficult to create an automated pipeline to update your cluster and deploy your app at every commit.
Here is a way to use CodePipeline, CodeBuild and how to deploy it with Helm.
The pipeline should be created from the AWS console for now, but another article is coming with the Terraform code of the following pipeline!
Define the deployment flow
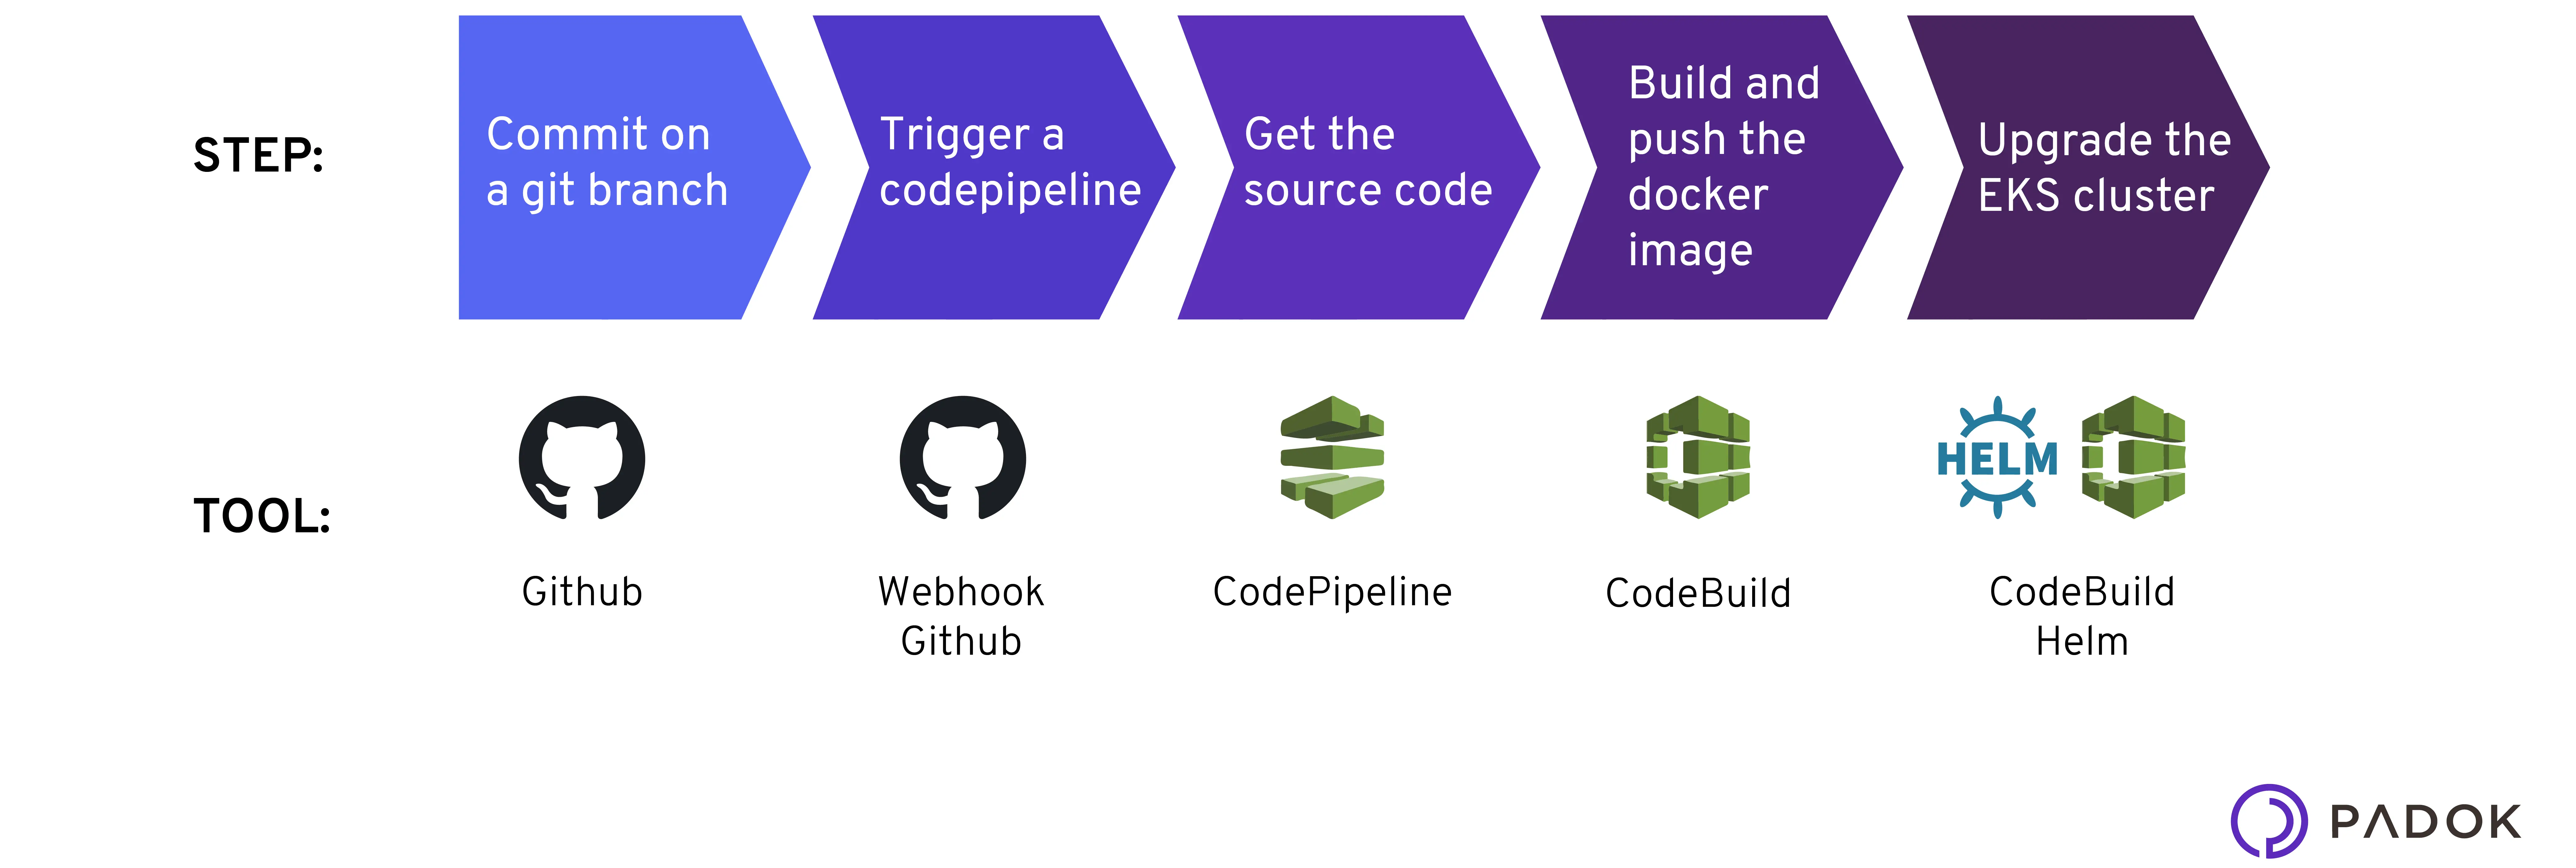
Here is the deployment flow we want to settle:

Write the buildspec file
Copy and paste the following buildspec.yaml:
Don’t forget to change the path to the Dockerfile on line 21, the Helm release name and the path to the Helm files on line 27.
As you may notice on the pre_build step, a kube-config file is copied to be the in the ~/.kube/config, thus commit it at the root of the repository under the name `kube-<ENV>`.
Create the Pipeline
Here are the steps to follow on the AWS console. Each bullet point corresponds to a new page:
- On the CodePipeline page, create a new one and give it an explicit name like `
deploy-staging` or `deploy-production` - Choose your code provider, the Git branch you want to deploy and activate the webhook creation.
- Then choose CodeBuild as a build provider, a new page opens. Create a new project:
- Name it explicitly, choose the AWS standard Ubuntu image, version 1, check the box to provide this image enough rights to enable Docker.
- Add the following variables:
AWS_ACCOUNT_ID = <YOUR_ACCOUNT_ID>AWS_DEFAULT_REGION = <PROJECT_REGION>IMAGE_REPO_NAME = <ECR_URL>ENV = <DEPLOYED_ENV>- Specify the path of the
buildspec.yaml file. Usually, this file is at the root of the code repository. - Validate and return to the CodePipeline page.
- Validate the CodePipeline creation.
Grant the necessary permissions
It is an important step to grant all the permissions that are needed, especially if you want, for instance, to restrict the access to your EKS cluster.
During the deployment, a Docker image will be pulled and pushed to the ECR, the AWS container image registry, therefore the CodeBuild process needs to have the right to interact with it.
On the IAM page, in the role section, find the role you’ve created during the CodeBuild creation and attached it to a new strategy: the AmazonEC2ContainerRegistryPowerUser one.
The last phase of the deployment is the upgrade of the cluster thanks to the `helm upgrade` command. Thus, the CodeBuild process needs to be able to access the Kubernetes cluster. To do so, modify the `aws-auth` configMap with the command `kubectl edit -n kube-system configmap/aws-auth` and add the following lines below the `mapUsers` key:
You’re ready to launch your first deployment, either by pushing new code to the Git branch or by triggering from your terminal `aws codepipeline start-pipeline-execution --name deploy-<ENV>`.

