
Posted on 30 June 2021, updated on 17 February 2023.
Configure Raspberry Pi MicroSD
In order to perform this operation, you will need the following types of equipment:
- A computer with ssh enabled
- A Raspberry Pi 3 or 4
- A MircroSD card (8Go min)
- A Wi-Fi connection
Install the OS for your Raspberry Pi
First, you need to install the OS on your Raspberry Pi.
- On your computer, insert the MicroSD card, to install Raspbian OS on it.
- You need first to download Raspberry Pi Imager
- Download Raspbian OS 64 bit to be compatible with aarch64 architecture.
- Launch Raspberry Pi Imager, then click on “Select OS” and select Raspberry Pi OS (64-bit) you just downloaded.
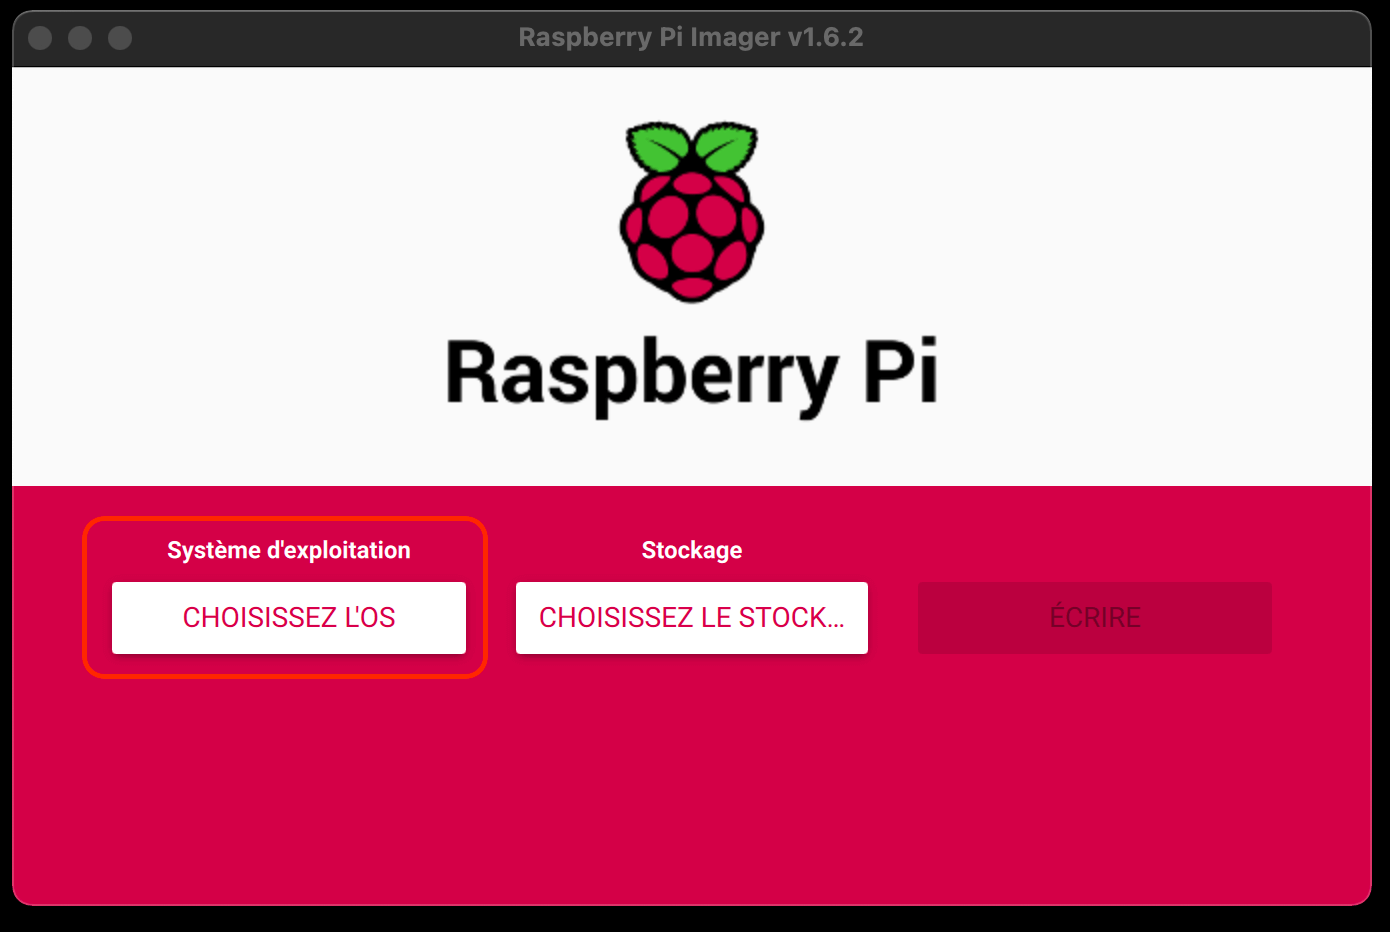

- In Storage select your MicroSD card
![storage_rasp]()

- Then write!
- When completed, remove and insert back the MicroSD in the computer.
As we are not going to connect the Raspberry to a screen, a keyboard, and a mouse (we don’t have the equipment 😉), we need to activate the SSH connection and connect it to the Wi-Fi.
SSH connection
To enable SSH connection, you need to add a file named ssh in the boot partition. Here is the procedure for MAC (it can be different for other OS):
Open your terminal and go to /Volumes/boot:
cd Volumes/bootThen create the ssh file:
touch ssh
Wi-Fi connection
Still in the boot partition, create a file wpa_supplicant.conf:
vim wpa_supplicant.confAnd put this configuration in it:
 update_config=1
 ctrl_interface=/var/run/wpa_supplicant
 network={
 scan_ssid=1
 ssid="<WIFI NAME>"
 psk="<WIFI safety key>"
 }
To connect to your WI-FI, you need to replace <WIFI NAME> with the name of your box, and <WIFI safety key> with the password.
Then you can eject the MicroSD card.
Connect to your Raspberry Pi
Put the MicroSD card in your Raspberry Pi and power it up.
To connect your computer in ssh to your device, you need first to find its IP address. You can install an IP scanner or use the command nmap:

Then you can ssh to your Raspberry Pi with this command:
ssh pi@<ip address>The password for user pi is raspberry. I strongly recommend you to change it with the command (or deactivate it):
passwdAnd also add your public ssh key in the file .ssh/authorized_keys.
ssh-copy-id -i ~/.ssh/id_ras.pub pi@<ip address>
Install Kubernetes cluster
Now we are going to deploy a single node cluster (as we have only one raspberry available). Here we are going to install K3S, a light version of Kubernetes packaged by rancher. Note that other solutions exist, to begin with Kubernetes!
For your information, K3S is a light version of Kubernetes with some particularities:
- It is packaged in a single binary
- It uses sqlite instead of etcd
- Traefik is used by default
- High Availability is possible with external bdd
- etc...
The first thing to do is to update and upgrade your Raspberry:
sudo apt update
 sudo apt upgrade
Then:
In file /boot/cmdline.txt add cgroup_enable=cpuset cgroup_enable=memory cgroup_memory=1 into the end of the file.
sudo vi /boot/cmdline.txt
Then install K3S:
curl -sfL https://get.k3s.io | sh -s - --write-kubeconfig-mode 644Here is the official rancher documentation to install k3s:
And that’s it! You have a Kubernetes cluster running! You can check it with the command:
kubectl get pods -AAdd node to the cluster
You can add additional nodes to your cluster with the following command:
curl -sfL https://get.k3s.io | K3S_URL=https://<server>:6443 K3S_TOKEN=<token> sh -To get the token value use this command:
sudo cat /var/lib/rancher/k3s/server/token
Thanks to K3S cluster, you now have a light Kubernetes cluster running at home on your Raspberry Pi, ready to host your applications or to discover Kubernetes and all its architecture. Just be careful, Raspberry Pi has ARM processors, so you will have to use compatible docker images.