

Posted on 4 October 2022, updated on 5 October 2022.
Pre-requisites
- Have 1 or several VM/servers with at least 1 GPU
- if you want to deploy a multi-node Kubernetes cluster, the master node root user should be able to ssh on each worker.
Create a k0s Kubernetes cluster
K0s is a simple tool to deploy a Kubernetes cluster. In order to have a smooth installation, we are going to use k0sctl command line to deploy it.
First, you need to connect to your master node and download k0s and k0sctl binaries:
# Download k0s binary
curl -L "https://github.com/k0sproject/k0s/releases/download/v1.24.4%2Bk0s.0/k0s-v1.24.4+k0s.0-amd64" -o /tmp/k0s
chmod +x /tmp/k0s
# Download k0sctl binary
curl -L "https://github.com/k0sproject/k0sctl/releases/download/v0.13.2/k0sctl-linux-x64" -o /usr/local/bin/k0sctl
chmod +x /usr/local/bin/k0sctl
Then you need to create a k0sctl.yaml config file:
-
For a single node Kubernetes cluster
apiVersion: k0sctl.k0sproject.io/v1beta1 kind: Cluster metadata: name: my-cluster spec: hosts: - role: single uploadBinary: true k0sBinaryPath: /tmp/k0s localhost: enabled: true files: - name: containerd-config src: /tmp/containerd.toml dstDir: /etc/k0s/ perm: "0755" dirPerm: null k0s: version: 1.24.4+k0s.0 config: spec: network: provider: calico -
For a multi-node Kubernetes cluster
apiVersion: k0sctl.k0sproject.io/v1beta1
kind: Cluster
metadata:
  name: my-cluster
spec:
  hosts:
  - role: controller+worker
    privateAddress: <master private IP>
    uploadBinary: true
    k0sBinaryPath: /tmp/k0s
    localhost:
      enabled: true
    installFlags:
    - "--no-taints"
		files:
		- name: containerd-config
      src: /tmp/containerd.toml
      dstDir: /etc/k0s/
      perm: "0755"
      dirPerm: null
  - role: worker
    privateAddress: <worker1 private IP>
    ssh:
      address: <worker1 private IP>
      user: root
      keyPath: /root/.ssh/id_rsa
    uploadBinary: true
    k0sBinaryPath: /tmp/k0s
		files:
		- name: containerd-config
      src: /tmp/containerd.toml
      dstDir: /etc/k0s/
      perm: "0755"
      dirPerm: null
  - role: worker
    privateAddress: <worker2 private IP>
    ssh:
      address: <worker2 private IP>
      user: root
      keyPath: /root/.ssh/id_rsa
    uploadBinary: true
    k0sBinaryPath: /tmp/k0s
		files:
		- name: containerd-config
      src: /tmp/containerd.toml
      dstDir: /etc/k0s/
      perm: "0755"
      dirPerm: null
  k0s:
    version: 1.24.5+k0s.0
    config:
      spec:
        network:
          provider: calico
In these yaml files, you can see for each node there is a block named files. This block is used by k0sctl to define the files to be copied on all nodes. Here we need to have a special configuration for containerd (the container runtime used by k0s) which will be used by NVIDIA GPU Operator. So you need to create the file /tmp/containerd.toml with these data:
# This is the configuration for k0s managed containerD.
# For reference see https://github.com/containerd/containerd/blob/main/docs/man/containerd-config.toml.5.md
version = 2

[plugins]
  [plugins."io.containerd.grpc.v1.cri"]
    [plugins."io.containerd.grpc.v1.cri".containerd]
      [plugins."io.containerd.grpc.v1.cri".containerd.runtimes]
        [plugins."io.containerd.grpc.v1.cri".containerd.runtimes.runc]
          runtime_type = "io.containerd.runc.v2"
Then run the command:
k0sctl apply --config /path/to/k0sctl.yamlYou have now a k0s cluster running. You could check the pods with the following command:
k0s kubectl get pod -ADeploy NVIDIA GPU Operator
NVIDIA GPU Operator is a Kubernetes tool that manages NVIDIA plugin installation on your cluster nodes. It is quite easy to install with helm but first, you need to check the driver version and the validator version required for your GPU in order to configure properly your values.yaml:
operator:
  defaultRuntime: containerd

toolkit:
  version: v1.10.0-ubuntu20.04
  env:
    - name: CONTAINERD_CONFIG
      value: /etc/k0s/containerd.toml
    - name: CONTAINERD_SOCKET
      value: /run/k0s/containerd.sock
    - name: CONTAINERD_RUNTIME_CLASS
      value: nvidia
    - name: CONTAINERD_SET_AS_DEFAULT
      value: "true"

driver:
  manager:
    image: k8s-driver-manager
    repository: nvcr.io/nvidia/cloud-native
    version: v0.4.0
    imagePullPolicy: IfNotPresent
    env:
      - name: ENABLE_AUTO_DRAIN
        value: "true"
      - name: DRAIN_USE_FORCE
        value: "true"
      - name: DRAIN_POD_SELECTOR_LABEL
        value: ""
      - name: DRAIN_TIMEOUT_SECONDS
        value: "0s"
      - name: DRAIN_DELETE_EMPTYDIR_DATA
        value: "true"
  repoConfig:
    configMapName: repo-config
  version: "515.48.07" # maque sur this version is compatible with your GPU


validator:
	version: "v1.11.0" # maque sur this version is compatible with your GPU
Then you can deploy the helm release in your Kubernetes cluster (here is the official doc):
helm repo add nvidia https://nvidia.github.io/gpu-operator
helm repo update
helm upgrade \
--install \
--namespace=gpu-operator \
--create-namespace \
--wait \
--values=path/to/values.yaml\
gpu-operator \
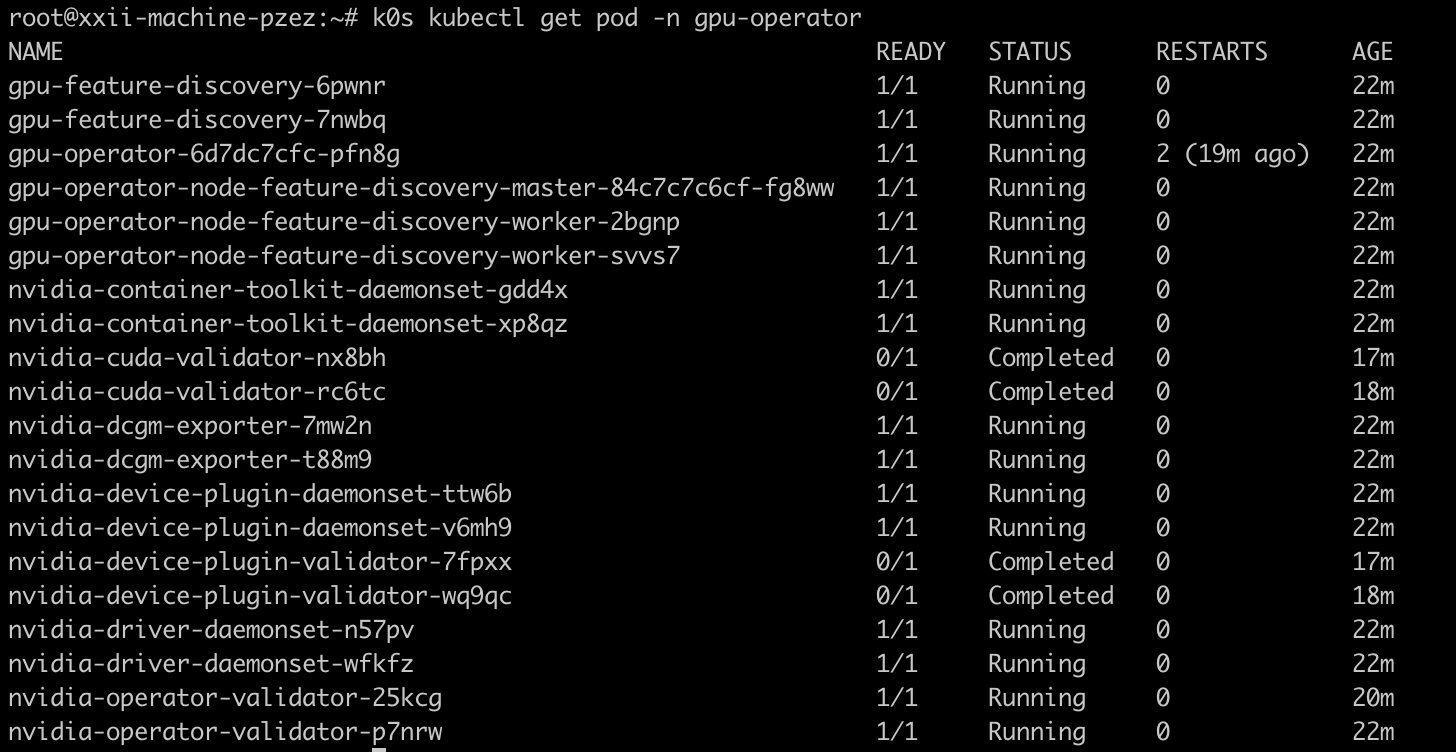
nvidia/gpu-operatorGPU Operator is going to deploy in your Kubernetes cluster:
If you have a look at /etc/k0s/containerd.toml, you will see that the operator has overridden the configuration.
To validate the good installation you can launch a NVIDIA Cuda pod in your cluster and allocate it 1 GPU with the resource nvidia.com/gpu:
apiVersion: v1
kind: Pod
metadata:
  name: nvidia-cuda
spec:
  containers:
  - name: nvidia-cuda
    image: nvidia/cuda:11.7.0-base-ubuntu20.04
    args:
      - nvidia-smi
    resources:
      limits:
        nvidia.com/gpu: 1 # requesting 1 GPU
This pod shall give you some info regarding your node GPUs. Here is an example:

Deploy GPU Share
With NVIDIA GPU Operator installed in your Kubernetes cluster, you can now use your GPUs and allocate 1, 2, or more GPUs to a pod. But now we would like to share a GPU between several pods. For this we are going to use two tools developed by Alibaba Cloud:
- gpushare-scheduler-extender: to schedule pod based on GPU. The pod shall be deployed on master node.
- gpushare-device-plugin:
- Expose the GPU Memory and GPU count on the node of your Kubernetes cluster
- Run GPU sharing enabled containers in your Kubernetes cluster.
First, you need to declare the new scheduler to k0s. So create file /etc/k0s/kube-scheduler-config.yaml:
apiVersion: kubescheduler.config.k8s.io/v1beta2
kind: KubeSchedulerConfiguration
clientConnection:
  kubeconfig: /var/lib/k0s/pki/scheduler.conf
extenders:
  - urlPrefix: http://127.0.0.1:32766/gpushare-scheduler
    filterVerb: filter
    bindVerb: bind
    enableHTTPS: false
    nodeCacheCapable: true
    managedResources:
      - name: aliyun.com/gpu-mem
        ignoredByScheduler: false
    ignorable: false
Then modify k0sctl.yaml file to add the scheduler config in k0s configuration:
spec:
	# ...
	k0s:
    version: 1.24.5+k0s.0
    config:
      spec:
        network:
          provider: calico
        scheduler:
          extraArgs:
            config: /etc/k0s/kube-scheduler-config.yaml
And finally, restart k0s with the following commands:
k0s stop
k0s start
Before deploying gpushare, you need to indicate on which node you want to have gpushare running. For this, you need to add the label gpushare=true to those nodes:
# Add label to specfic node
k0s kubectl label node <target_node> gpushare=true

# Add the label to all the cluster nodes
k0s kubectl get nodes -o name | xargs -I {} k0s kubectl label {} gpushare=true
You can now apply gpushare device plugin RBAC and daemonset:
# Add label to specfic node
k0s kubectl label node <target_node> gpushare=true

# Add the label to all the cluster nodes
k0s kubectl get nodes -o name | xargs -I {} k0s kubectl label {} gpushare=true
As well as gpushare-scheduler-extender helm chart :
git clone https://github.com/AliyunContainerService/gpushare-scheduler-extender.git
cd gpushare-scheduler-extender/deployer/chart/gpushare-installer/
helm upgrade -i gpushare-scheduler-extender
Now we can see the gpushare pods running in your Kubernetes cluster:

You can now schedule pods with a specified quantity of GPU memory with the resource aliyun.com/gpu-mem. Here is an example:
apiVersion: v1
kind: Pod
metadata:
  name: nvidia-cuda
spec:
  containers:
  - name: nvidia-cuda
    image: nvidia/cuda:11.7.0-base-ubuntu20.04
    args:
      - nvidia-smi
    resources:
      limits:
        aliyun.com/gpu-mem: 250 # requesting 250MB of GPU
Conclusion
As seen in this tutorial, you can now schedule pods in your Kubernetes cluster based on GPU consumption. And this is quite easy to set up with the stack k0s, NVIDIA GPU Operator, and GPU Share. If you want to understand properly how Kubernetes works, I encourage you to check this article about Kubernetes control plane.